VELUX Curb Mount Skylight — New Installation.
Curb mount skylights are the most common of all skylights in the Denver metro area. The most common type and size is typically, acrylic domes and around 2′ x 4′. And, typically they are energy inefficient, noisy, and susceptible to hail damage. Curb mounted skylights are required for roof slopes less than 3/12 (14°).
Installing a typical curb mounted skylight is a simple process.
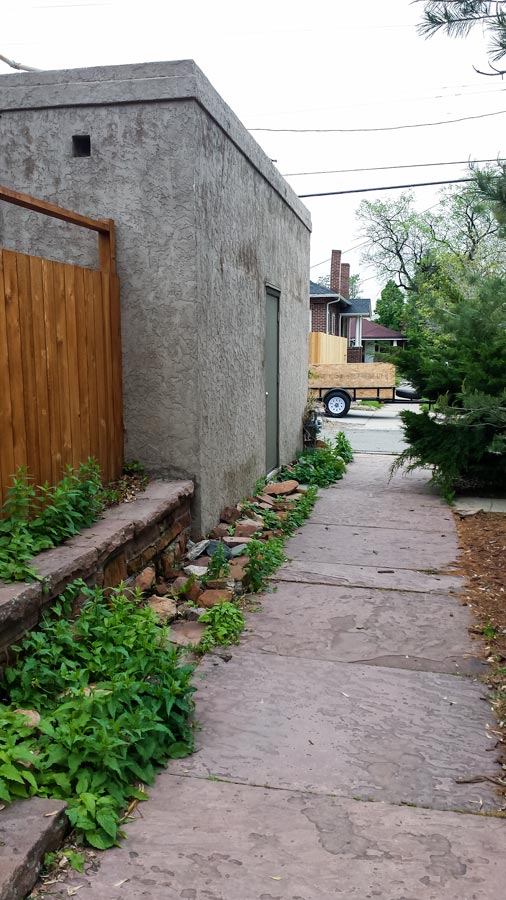
This residence in Denver’s Speer neighborhood was originally built in 1892. The neighborhood is currently in a revitalization phase.
The owners wanted to create a livable space from the old carriage house with the help of a new skylight.
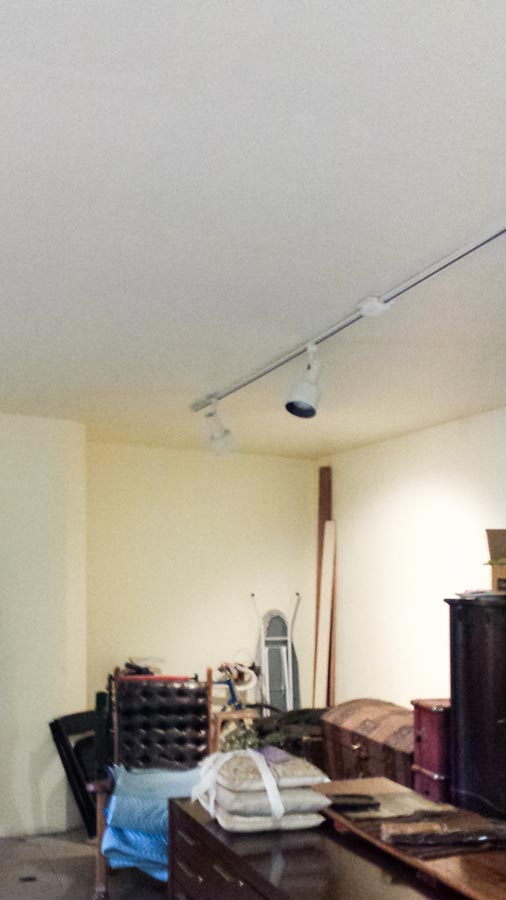
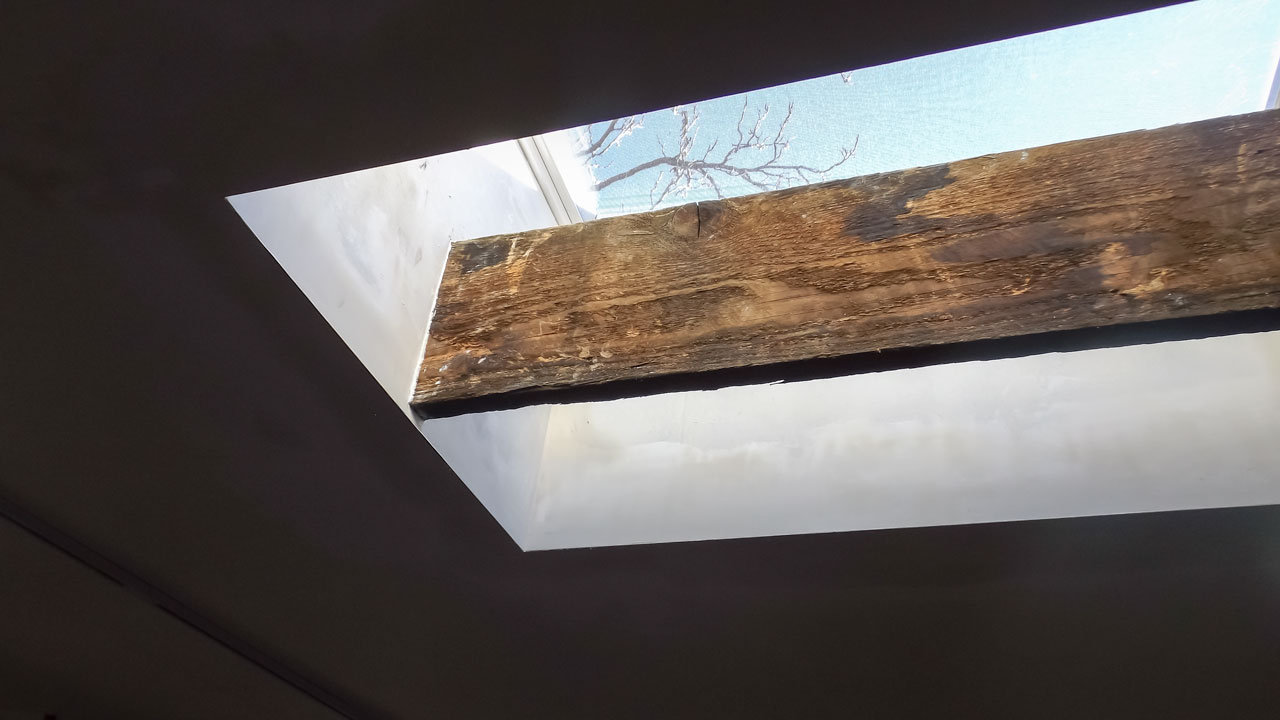
From The Interior:
The first step is to protect the inside of the home. We take very good care of interior finishes including protecting the room with plastic, protecting hardwood floors from scratches, protecting counter tops from any sort of damage, etc.
Many homeowners have commented on the extra care we take. This is not a time to just go through the motions. At the end of the day we don’t want any problems. We will even use drywall to protect counter tops and hardwood floors, as needed. It is so much easier to protect them than it is to repair or replace them!
Once the room is protected, we perform the layout from the interior. We want the location of the opening to be in the exact space as required. Either through design, such as centered in the room, or as the structure permits, i.e., centered in between the rafters.
We lay out the opening on the ceiling and then up to the roof. Many roofers think the skylight (instead of the ceiling opening) should be centered in the room, and that is not a good design.
The next step is to install the proper headers, as needed, to support the existing structure around the openings and to hold the drywall for the shaft. After framing we install a vapor barrier and insulation.

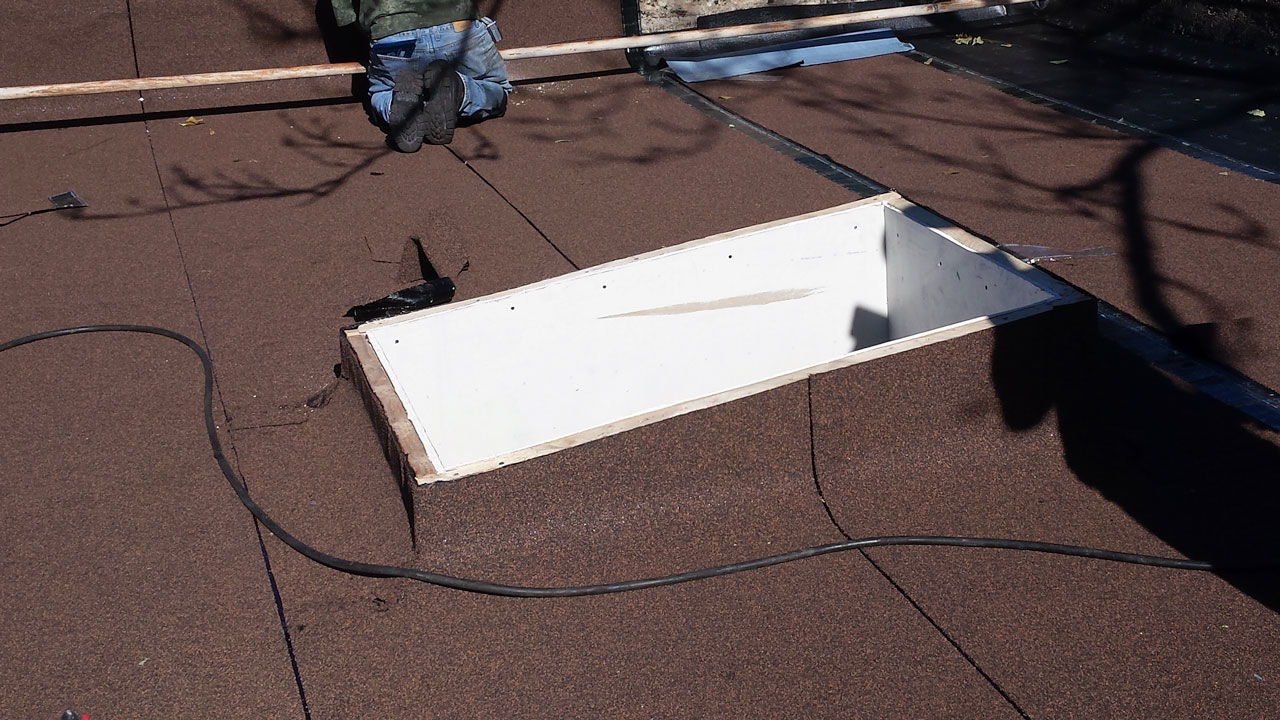
From The Roof:
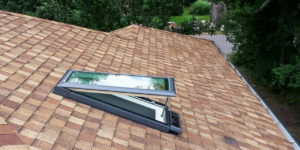
The next step is performed on the roof—the setting of the skylight.
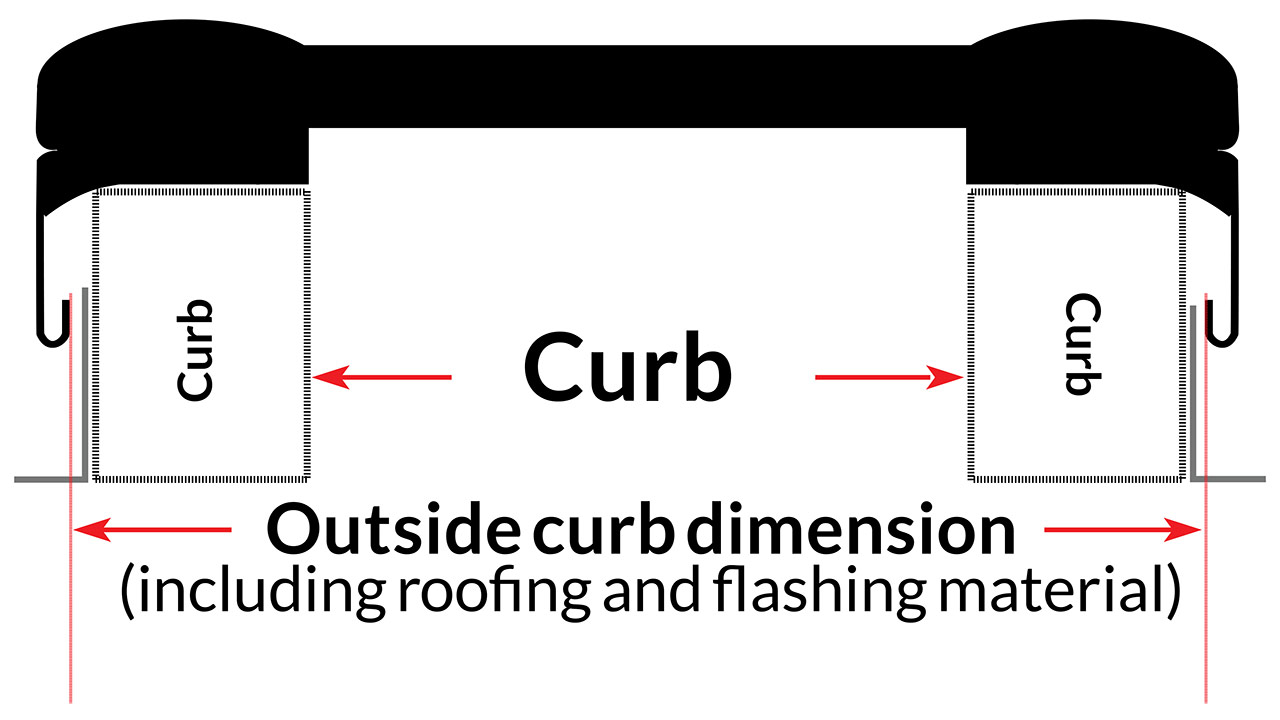
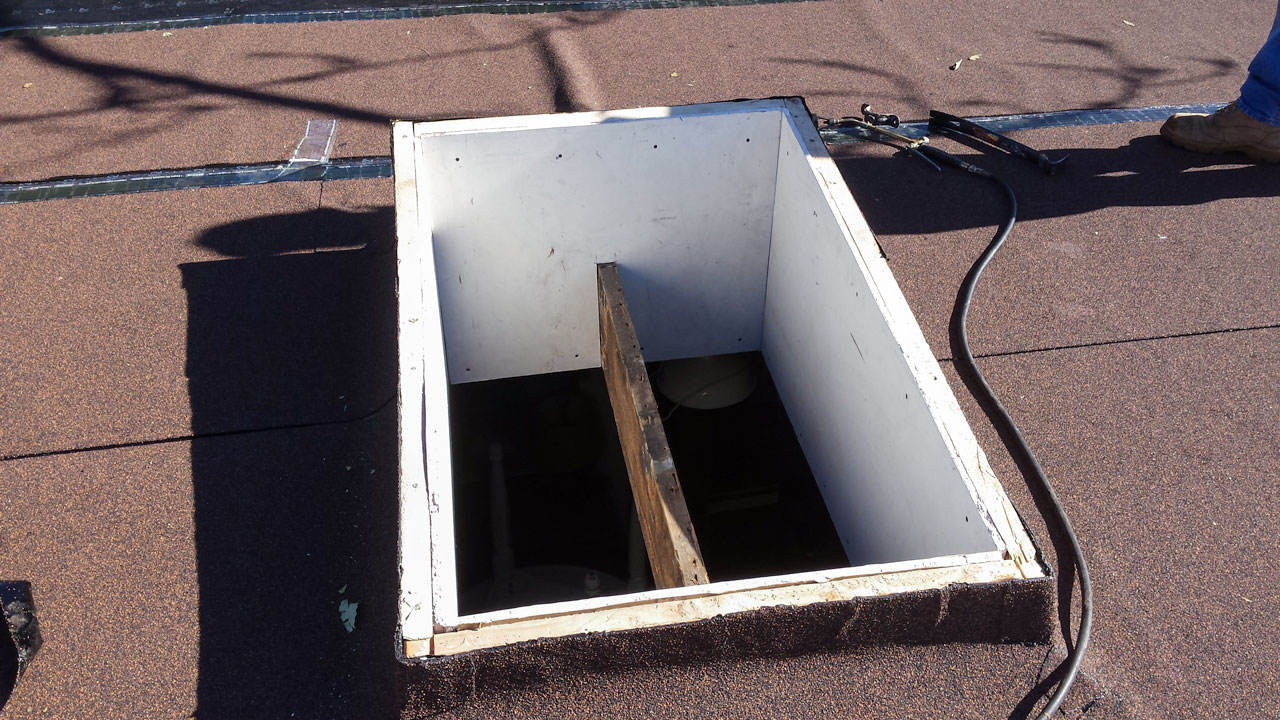
A curb is built (typically pitched as in the pictures) to hold the skylight above the roof and at a slight angle.
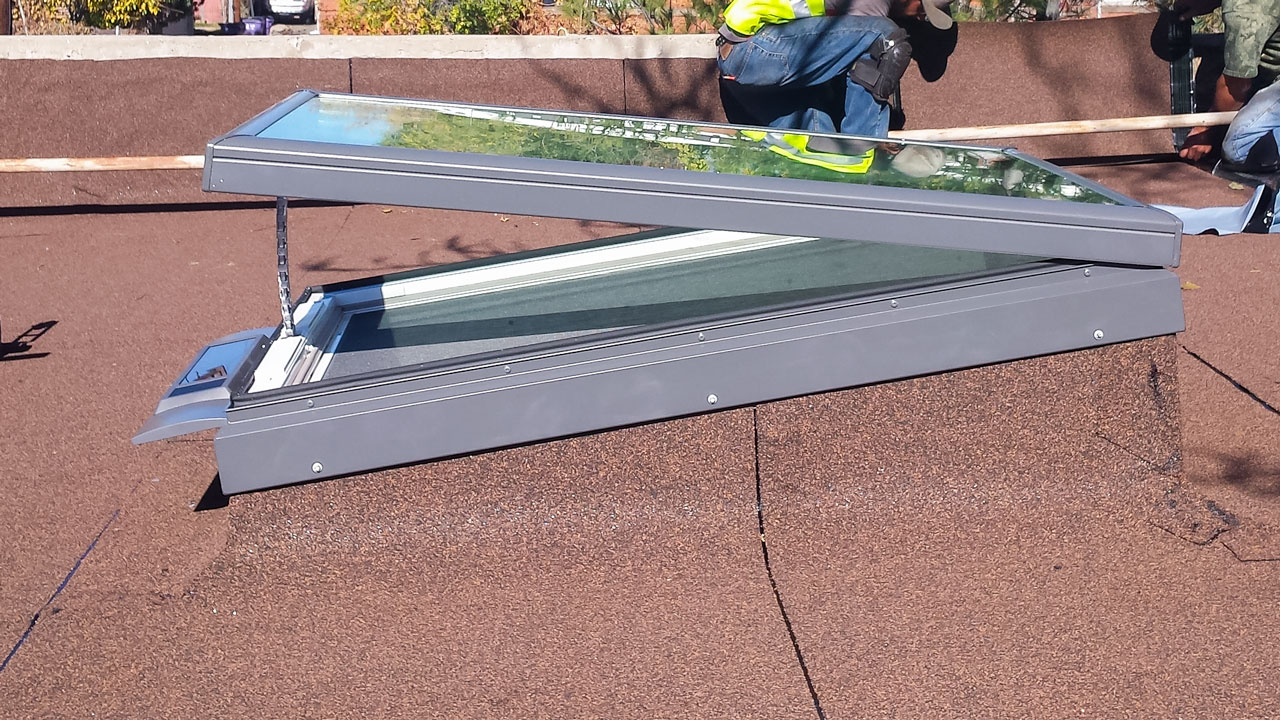
Ice and water seal is installed around the perimeter of the skylight. This really helps with preventing air and water penetration.
Flashing compatible with the low-pitched roof is installed around the skylight according to the roofing manufacturers specifications.
Once the skylight is set, our crew installs the drywall on the interior as the flashing is being done on the exterior. This helps ensure the entire job is done in one day and that we inconvenience you as little as possible.
Drywall texture is the final touch.
Later, the drywall finisher can come in to add corner bead around the opening and tape and texture the drywall. This is scheduled at the homeowner’s convenience, sometimes the same day.
Last Step: Peace of Mind!
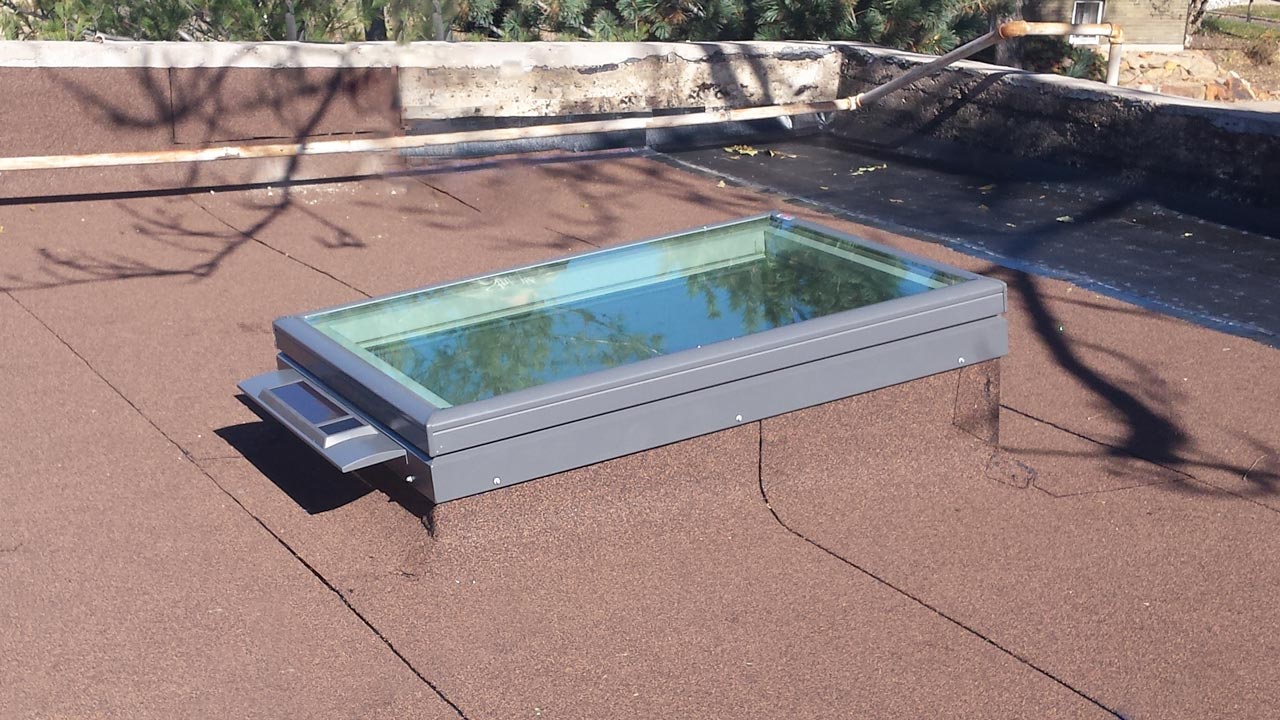
- Skylight Specialists, Inc. warrants our workmanship for five years.
- Ten year No Leak Warranty from Velux.
- Energy Star rated. Energy savings can pay for the skylight in a few years.